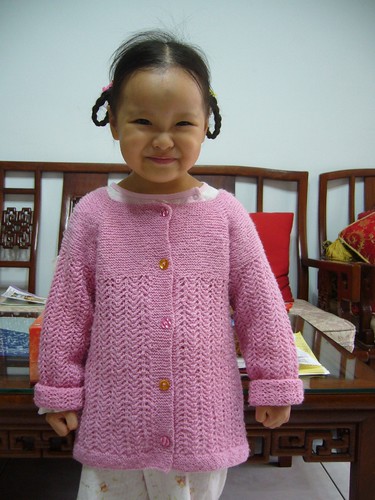
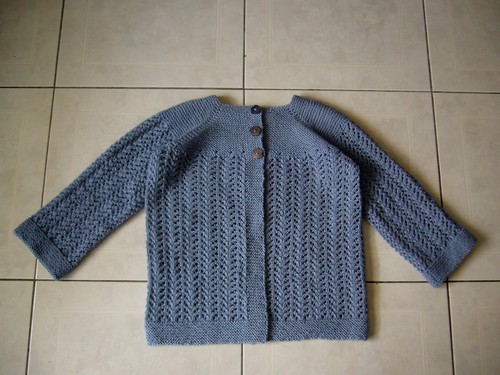
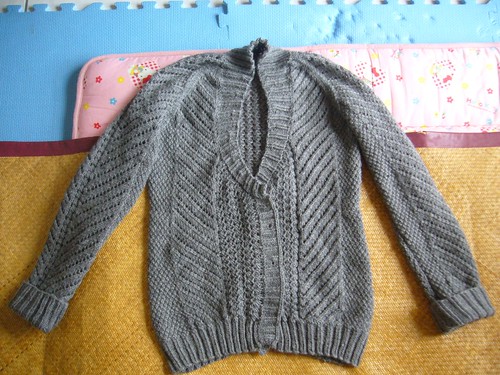
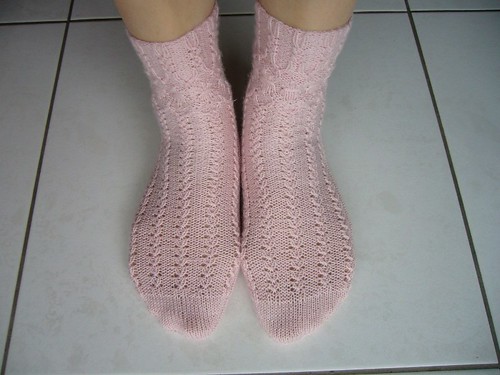
真人示範正面自拍
Modelled front綠牛仔先生/勃根地女士開始日期: 2009/10/1
完成日期: 2009/10/14
圖樣:
綠牛仔先生 by Amy Swenson
尺碼: S
線材: Ornaghi Filati Merino Kind
顏色: #1208
針碼: 日規 5 (3.6mm), 4 (3.3mm), 3 (3mm), 2 (2.7mm) 號
Mr. Greenjeans/Mrs. BurgundyStart date: 2009/10/1
Finish date: 2009/10/14
Pattern:
Mr. Greenjeans by Amy Swenson
Size: S
Yarn: Ornaghi Filati Merino Kind
Color: #1208
Needle size: JAP #5 (3.6mm), #4 (3.3mm), #3 (3mm), #2 (2.7mm)
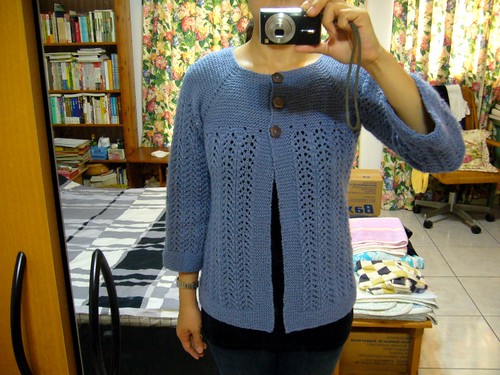
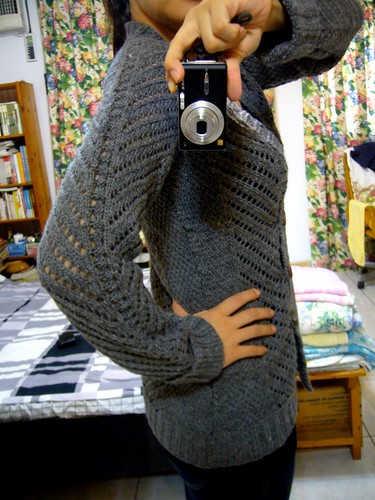
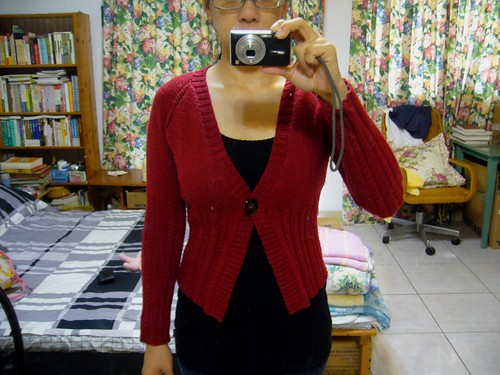
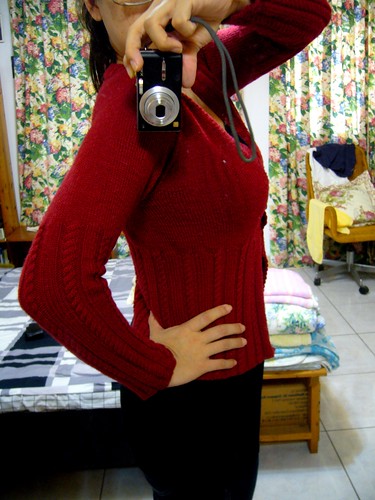
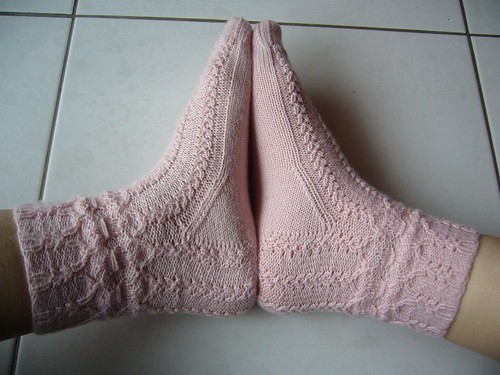
 真人示範側面自拍
Modelled profile本來並沒有很想打這件, 但是當時剛把以前打的一件毛衣拿來回收 (拆掉), 想要打成另一件外套, 不過加上一些其他的誘因催化, 就開打這件綠牛仔先生.
I wasn't planning on knitting this cardigan in the first place, but I just recycled some yarn from an old cardigan and was going to reknit into another one, then there were some other factors which acted as a catalyst and before I knew it I was starting Mr. Greenjeans.
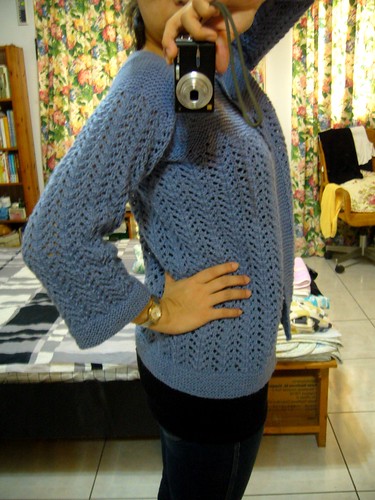
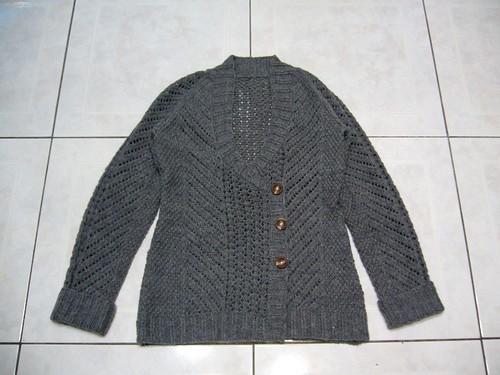
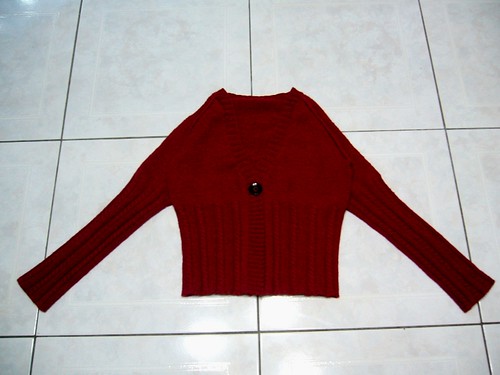
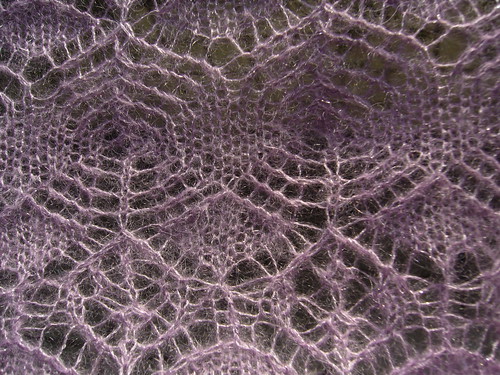
 正面
正面
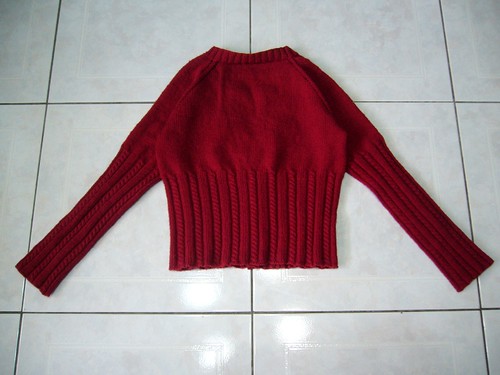
Front 背面
背面
Back使用的線比織圖所用細很多, 因為這線本來就細一級, 加上是之前打過拆下來過熱水處理過, 會再細半級, 得乖乖打織片量鬆緊度, 重新計算針數. 好在我可以用織圖中的 2X 尺碼針數為標準來打.
The yarn used was sport-DK weight yarn, and it was recycled which made it even thinner, much thinner than the aran weight yarn used in the pattern. So I had to swatch to get new gauge and recalculate the stitches. Luckily, I can adapt the size 2X of the pattern for my gauge.
由於拆下來的線到底有多長無法確定, 只能從重量去粗估, 所以一開始就決定綠牛仔先生要打合身的, 不要像織圖上那樣鬆鬆的, 且袖子要打全長, 且袖子上的羅紋與麻花樣要跟身體上的同一高度開始, 也因為如此心裡總是有不安全感怕線不夠.
Exactly how much yardage I have from the recycled yarn was never determined, I can only estimate through the weight, so I decided to knit a very fit Mr. Greenjeans, unlike the looser fit in the pattern, and I would like full length sleeves and the Ribs and Cables pattern had to start at the same height as that on the body. So I was feeling very insecured that I would ran out yarn before finishing the cardigan.
身體和袖子上半用日規 5 號針打, 身體和袖子分開後, 依照尺碼 S 要繼續平針編織 4 吋, 但我打了 4.5 吋, 確定包住整個胸部, 因為不想到時扣子縫上去後感覺跑到胸部上面去. 到了身體下半羅紋和麻花樣時換用日規 3 號針, 因為我打羅紋和麻花手會鬆, 為了花樣平整好看, 也為了省一點線, 所以用小兩號針. 不過其實對照織圖, 美規小一號針是小 0.5mm, 換成日規針碼大約就是小兩號囉! 最後套收時換用日規 4 號針, 為了蒸氣定型時有鬆份可以撐開.
I used 3.6mm (Japanese size 5) needles for the upper half of the body and sleeves, after dividing the sleeves from the body, I continued to knit for 4.5 inches instead of the 4 inches designed for size S, to make sure the yoke indeed covered all of my bust and thus the button wouldn't show up above the bust. I changed to 3mm (Japanese size 3) needles for the Ribs and Cables pattern for the lower body for I tend to knit ribs and cables looser thus using needles 2 sizes down. Actually, 1 needle size (0.5mm) down for US size is about 2 needle sizes (0.6mm) down for Japanese size. But I changed again to 3.3mm while binding off Ribs and Cables to create more give for later blocking.
身體完成後通常接著打袖子, 但是我怕線不夠, 所以先打扣洞邊, 把身體全部定案, 再將剩下的線平今到兩隻袖子上, 能打多長就打多長, 不過要兩隻袖子同時進行就是了. 扣洞邊織圖是說, 羅紋與麻花樣的部分 3 段挑 2 針, 平針部份也是 3 段挑 2 針, 領子後面起針處 1 目挑 1 針, 不過在 Ravelry 上看到有些人覺得羅紋與麻花樣部分應該改為 1 段挑 1 針比較平整. 當時我沒多想, 看了就馬上決定照做, 挑完針打下去後發現, 可能是因為織圖用的線粗, 要 1 段挑 1 針才不會皺起來, 定型起來比較好看, 我用的線細應該可以照原來的 3 段挑 2 針結果應該會比1 段挑 1 針來得漂亮, 不過已經挑好快打完了, 就算了.
Generally, after the body is finished, sleeves are the next part to knit. However, fearing that I might run out of yarn, I knitted the button band first, just to get it over with the whole body part, and then I can move on to knitting the sleeves peacefully, dividing the remaining yarn between them, and knit them as long as the yarn allowed, although I had to knit them at the same time. As to the button hole, it was designed to pick up 2 stitches every 3 rows on the Ribs and Cables part, also 2 sts every 3 rows for the stockinette stitch part, and 1 st every cast on st for the back of collar. I saw a note which quite a few knitters adapted is to pick up 1 st every row for the Ribs and Cables part. I didn't think and decided I would do the same. Later on I realized that the suggested yarn weight was aran and picking up 1 st per row might render a neater and smoother button band than the original 2 sts every 3 rows. The yarn I used was sport~DK weight which might not have that kind of problem and if I had picked up 2 sts every 3 rows the button band might have looked better. But I was almost done with the button band so I stuck to it.
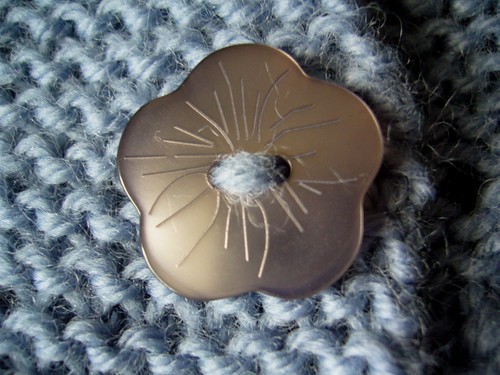
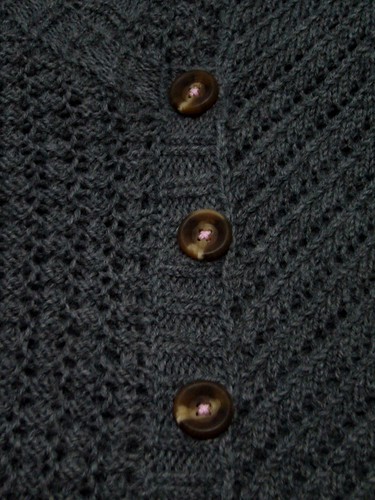
 扣洞邊
扣洞邊
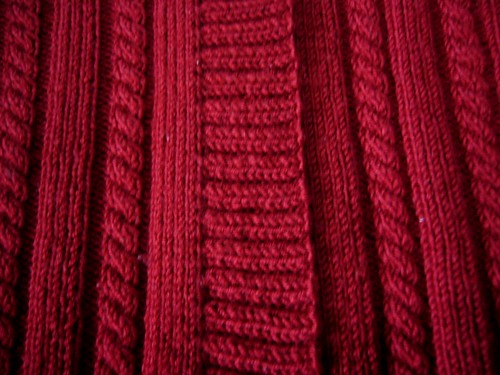
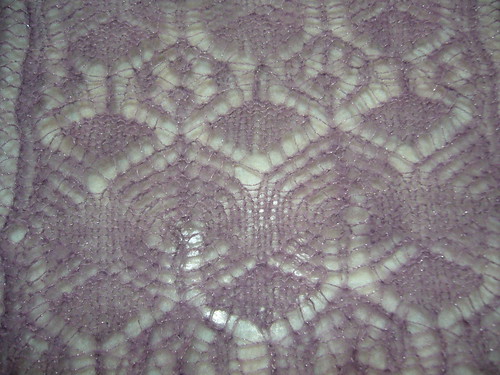
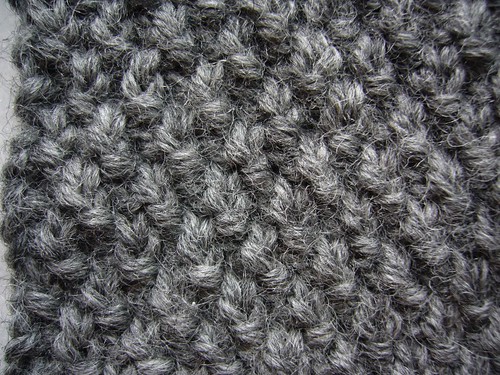
Button band 身體下襬部分羅紋與麻花樣
Ribs and Cables on the lower body身體全部完成後, 終於可以安心打兩隻袖子了! 一直覺得線只夠打到七分袖, 為了能打長一點的袖子, 袖子部分的針是用日規 4 號針來挑回, 且一開始就做減針, 因為身體合身, 希望袖子也配合做成比較合的細長袖型. 當兩隻袖子平針部分打到和身體部分平針和羅紋與麻花樣交接處, 就換日規 3 號針來打羅紋與麻花樣. 接著每打幾段麻花, 就要換隻袖子, 兩邊同步, 平均分配線量. 打到超過七分袖長度時心裡鬆了一口氣, 不過發現線還有一點, 可是不確定到底還能打多少長度, 就這樣一隻袖子打一段麻花, 換隻袖子再打一段麻花...結果最後袖子共有 32 段麻花, 袖長剛好到我想要的手掌邊, 線只剩幾公尺. 真的是剛剛好, 打其他樣式的開襟外套可能還不行也!
After finished for good the body, I started the sleeves by using 3.3mm (Japanese size 4) needles to pick up the held stitches and started to decrease after a few stockinette st rounds. I knitted the body snuggly so the sleeves must be done the same way and I's like the sleeves to be as long as possible. When the stockinette part measured as long as the body's before the Ribs and Cables pattern, I changed to 3mm (Japanese size 3) needles for the R&C. I switched sleeve every few cables, trying to divide evenly the remaining yarn. I was relieved when the sleeves reached more than 3/4 sleeve length. There were still some yarn left but I wasn't sure how much longer I could make the sleeves so I swtiched sleeve every cable and at last I have 32 cables on the sleeves with the length right up to the bottom of my palm. Only a few meters of yarn left. It was perfect! I don't think it would be sufficient if I were to knit another style of cardigan.
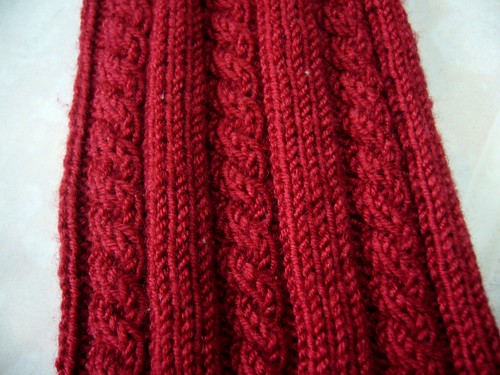
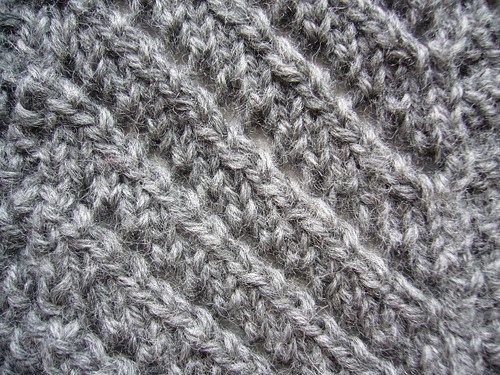
 袖子下半羅紋與麻花樣
Ribs and Cables on the lower sleeve綠牛仔先生, 或是如我的織女朋友 M 說的: 勃根地女士, 是在一個不太愉悅的情況下開始打的, 但是結果卻是非常令人滿意, 沒有後悔打這件開襟外套!
I started knitting Mr. Greenjeans, a.k.a. Mrs. Burgundy, as my friend M said, under a not so pleasant circumstances, but the result is suprisingly satisfying, and I did not regret knitting it!